2. The setup wizard
Open the address the installer printed (for example https://203.0.113.10:8443). A fresh installation sends you
to the wizard.
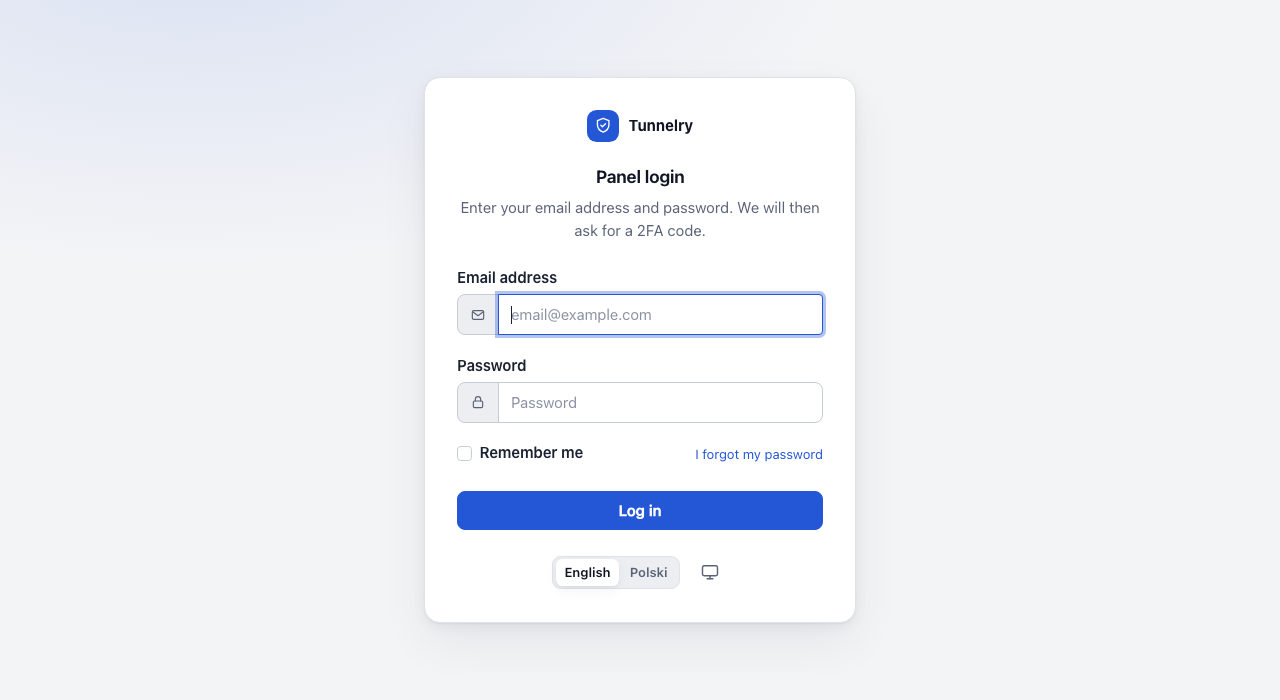
(After the wizard you sign in on this page, with the password you chose and a code from your authenticator app.)
Steps
Setup token. Paste the token the installer printed.
Administrator. Create the first administrator: name, e-mail address and a strong password. At your first sign-in you are offered two-factor authentication (a code from an authenticator app on your phone). It is strongly recommended, and it is your choice: if you decline, you are told why we advise against it, and you can turn it on later in Security. If you set it up, save the recovery codes it shows.
Check. The wizard checks the server: operating system, OpenVPN and easy-rsa installed, free disk space, network interface, forwarding. Anything that is not fine comes with a hint. Fix it and press Check again.
VPN. Three questions decide almost everything:
- What is the VPN for? Reaching a private network, protecting internet traffic, or both.
- Where do people connect to? The public address or DNS name of this server, as people will type it into their VPN app. If the server is behind a router, use the router's public address and forward UDP 1194 to the server.
- Which networks may they reach? The address ranges behind the server, one per line (for example
192.168.1.0/24). The wizard offers the network the server itself is in.
The advanced options (port, protocol, the VPN's own address range, DNS) are preset sensibly.
Review and activate. The wizard lists what it is about to do. Activate creates the certificate authority, writes the OpenVPN configuration and the firewall, and starts the VPN.
Confirm. The new firewall is on for a limited time. If you can still see this page, press I can see this page: keep the settings. If you cannot (for example the settings locked you out), do nothing: the server undoes them on its own.
First profile. Create a profile for your first device and download it. The
.ovpnfile contains the device's private key: it is shown once and never stored on the server, so keep it safe.
Connecting a device
Install an OpenVPN client (OpenVPN Connect, or the OpenVPN GUI on Windows, Tunnelblick on macOS, the OpenVPN
Connect app on phones), import the .ovpn file and connect. Then open Dashboard in Tunnelry: the device appears
under Connected now.
Doing the setup from the console
Everything the wizard does can also be done non-interactively, for scripted installations. Run
sudo -u tunnelry php /opt/tunnelry/current/artisan tunnelry:setup --help for the options.
Next: everyday use.